Showing posts with label Decorating. Show all posts

Monday, April 11, 2011

The Dining Room Shelves

A couple weeks ago, Emily came over to help me hang some shelves in the dining room....she also painted something for my bathroom which is amazing and I will post about later...back to the shelves. She had some extra wood she didn't need, so we made them in to some shelves. After some trial and error :)...we finally got them up! And I love how they look!!


This centerpiece was very easy...the sticks I got from the yard. Then I got some streamer from Hobby Lobby, and hot glued it on to the edges. I think it gives it a more spring look.


Emily also found this neat shutter...we found the perfect place for it! She also came up with the idea of stacking the baskets filled with burlap which I love!


Thanks Em for coming over to help me!! I had so much fun!!

Saturday, April 9, 2011

The Piano

Wow! Alot of things have been going on around here lately!! Crazy!! So I am just now getting around to posting stuff! A few months ago, we were given a PIANO!!! What an answer to prayer!!! I love having one in our home and I am able to prepare for stuff I am doing at church so much easier now! So thankful!!
The piano fits against this wall perfectly!! I really enjoyed decorating the top of the piano....and one night, Emily came over and helped me decorate (which I will be posting about soon :) and we put the finishing touches on this!


The old music books were by great grandmother's. The scrolled up hymns were free copies I printed from the internet....I burned the edges, then stained them with tea, then blow-dried them to give them that "old" look.


The Psalm 7:17 sign is also something I made. That was a frame I got that did not have the glass. I covered the cardboard with burlap. I printed the verse from my computer, and again I burned the edges and stained it with tea. Then I glued it on to the burlap! Mom- do you remember when you got me that tea light holder??

So thankful to have a piano!!

Saturday, March 19, 2011

The Bathroom Countertop

So I endeavored upon a little project, something I had seen on a few other blogs, painting the bathroom counter top. Lowes carries a product called Counter top Coating.

There are several different colors you can get it stained to. I got it stained to what I thought was a dark chocolate brown. When I started painting, I realized it was going to be lighter, almost the color of the walls, which was a little disappointing. It was very difficult to paint it on smoothly. I used foam brushes, but it showed every streak, so I ended up painting in circles, trying to make it look "textured:". HA! In the end, I like it a lot more than the blue :) but I am also glad I didn't attempt to do anything more than my small bathroom countertop.
Before

After


During my painting...I got a little careless and accidently did this on one of the cabinets.....

So I did some unplanned cabinet distressing...but I like how it turned out!

All in all, I probably wouldn't use the countertop coating again unless it was just a temporary fix to something I really didn't like. It gets the job done, but it did turn out a little differently than I thought! But hey, not all projects are going to go perfect! But that's the fun of it!!

Thursday, March 10, 2011

The Mr. & Mrs. Pillows

I have seen this done on a few other blogs and I loved it! I had to give it a try! I am so excited about how they turned out. The original company to come out with these pillows was Ballard Designs. For just the inserts, they are $59 each!! I think I paid a total of $20 for both, insert and all! So here is a little tutorial on how I did it...

After reading how people have done it, I decided I would make my own stencil.
I printed the letters off of my computer.

Then I traced them on to some heavy duty cardstock.

Then I cut them out with an exacto knife. They were no where near perfect, but that ended up not mattering.

I bought black acryllic paint and that little round foam brush you see in the picture. I made sure to hold the stencil real still and I put the paint on pretty thick. I did practice on the piece of paper first :)

I was so nervouse to pull back the stencil, but I was pleasantly surprised when I did! I thought it looked great! Ecspecially for a homemade stencil!!

I then sewed the pillows right sides facing each other, leaving a small hole to put the insert in.

If you notice in the picture on the Ballard Designs website, the pillows look a little more tapered around the edges, and I really wanted to get that look. After I sewed the pillows right sides together, turned them inside out, and stuffed them, I then went and sewed around the entire outside of the pillow.

If you can tell by this picture, the pillow has a more tapered look, rather than a "normal" looking one with a straight sew.


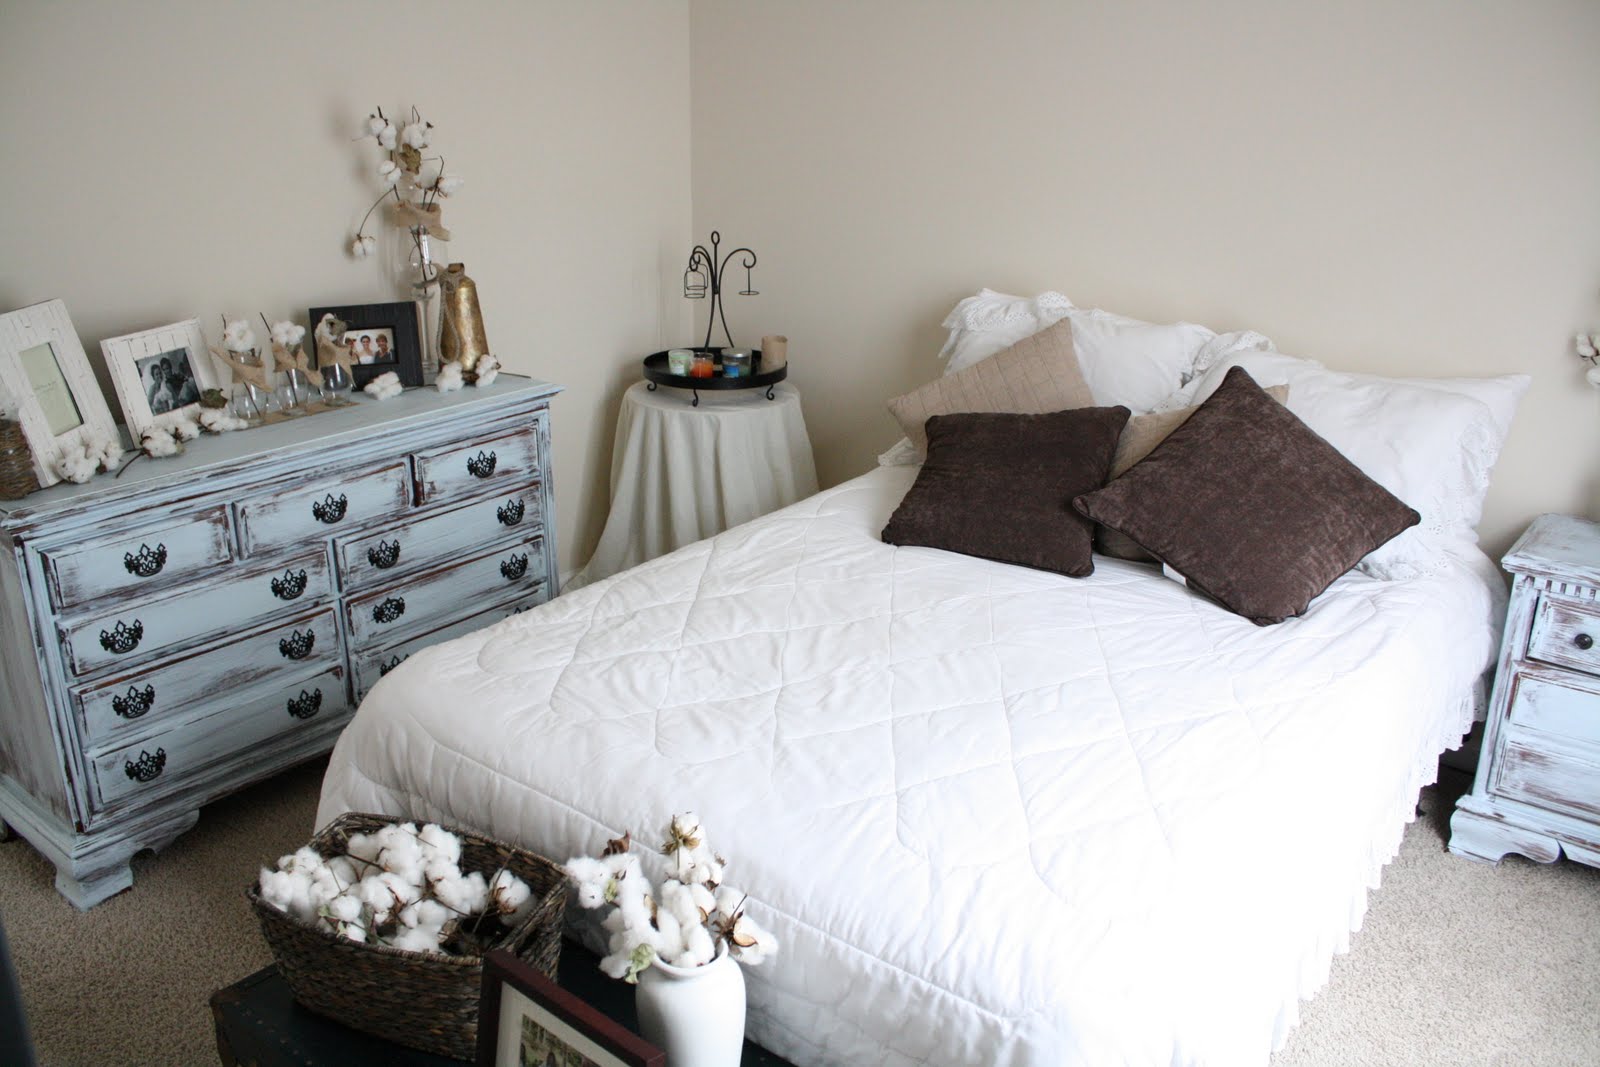
I love how these turned out! It adds a little more character to our bedroom and it was a fun project!

Tuesday, February 22, 2011

Major Updates to the Cotton Room

I am so excited about how this room has come together! It feels so cozy!!
Here is the before:


And here we are now!!


Since the last picture, I found a new duvet cover (at my new favorite Target clearance store for $10!!), I added the chair which I loveee and found at a thrift store for $12, the blanket, the mirror which was another $8 thrift store find, and the SHUTTER HEADBOARD! I am most excited about that! I got all four old shutter doors at a thrift store for $15..thanks to my friend Lindsay who talked them down for me :) My favorite blog writer, Layla Plamer of The Lettered Cottage wrote an article for HGTV on making a headboard out of shutter doors...if you are interested in seeing how I did it, check it out HERE!


The mirror I painted with white paint...it was a goldy color before.


You can't tell very well in this picture, but I found the curtains at my Target clearance store for $3 each! They are long white linen curtains and look really great in the room! I also found the bedskirt for $5 at the same store :)

The last few things I want to change are still the light fixture, and I plan on doing some letters above the headboard, similar to what Layla did in hers. Overall, I am so excited about how this room is coming along!!

Sunday, February 6, 2011

Getting Crafty

Here are a few things I have been working on lately :)

The Globe Bowl

I saw this in a picture awhile back and always wanted to try it. I was at Ross and saw they had a broken globe, and I knew it would be perfect for this project! They even gave me a discount because it was broken :)

So here is my globe half....


And the inside of it....


I painted the inside with what is called "crackle" paint...it gives it an old wood finish.


I ended up hot gluing burlap around the top, and then gluing jute around that...


I am pretty excited about how it turned out!


The Empty Frame Collage.....

I saw this idea in pictures, as well. I wanted something for my hallway wall but didn't want to spend a lot of money. This was perfect and I LOVE how it turned out!!

I found some frames...all different sizes and textures..at a thrift store for $.25. I set them all out on my floor in a way that I thought would look good on the wall.


Then I painted them with some acrylic paint I had picked up at Hobby Lobby.


Ta Da!! The empty frame collage!!!


I love how it looks going down that hallway!

Saturday, January 29, 2011

The Sign in the Bathroom

I made the sign in the Bathroom Post below. It was really simple...That was an old piece of wood with rope that I painted lightly white. Then I printed part of Colossians 3:16 out just on regular paper. Then I cut out the words. Then I modge-podged it on the wood! I am really excited about how it turned out! It was really simple and the project was basically free!!


Guest Bathroom Update

Well we have come a long way from this!!

Thanks to Emily for some decorating ideas and John's handywork...we have a pretty bathroom!!


The new light was a wedding present from Nat and Adam :)


John did awesome hanging all of these white shelves!!


We added this towell rack, a towell hook, and a toilet paper holder.


There are still a few more things to change, like the counter top and I am working on something to put on the wall above the towell rack...but I think we have made some good improvements! It was fun, too!